How to Log a Meal in Atomic Fast
Log your first meal in Atomic Fast on iPhone or Android. Choose a photo, description, barcode or food search, check the portions and time, then save your entry.
By Nazmul Hasan Rupok Published 8 min read

You have a plate in front of you, a packet with a barcode, or a meal you ate an hour ago. Each gives you a different starting point for logging. You don’t need to photograph everything, and seeing an estimated calorie total doesn’t mean the meal has been saved yet.
Here’s how to choose a route and finish the entry on iPhone or Android.
The short version
Tap Log or the + button to choose a logging method. For photos, labels and typed descriptions, review the foods, portions and Meal Time, then tap Log Meal; the search-based builder uses Done. Android’s barcode route saves directly with Add to Meal, so check the saved entry afterward. Food search, barcode lookup and custom food entry are free, while AI methods share seven successful scans per week on the free plan. Nutrition values remain estimates.
Before you begin
Complete sign-in and the app’s initial setup. This guide uses English labels; translated wording can differ. Have a connection available for AI analysis, online food search and barcode lookups. Taking a new photo or scanning a barcode requires camera access; Upload Photo lets you choose a food picture you already have.
You don’t need an active fast to log food. If you use both features, the point of keeping meals beside your fasting record is to record what happened. Logging food doesn’t require choosing a fasting goal first.
Choose the method that fits what you have
A plate in front of you: choose Scan Food. For a picture already on your phone, use Upload Photo. Keep the items visible, then check what the analysis identifies. A photograph may not reveal oil, sauces mixed into a dish or its full ingredients.
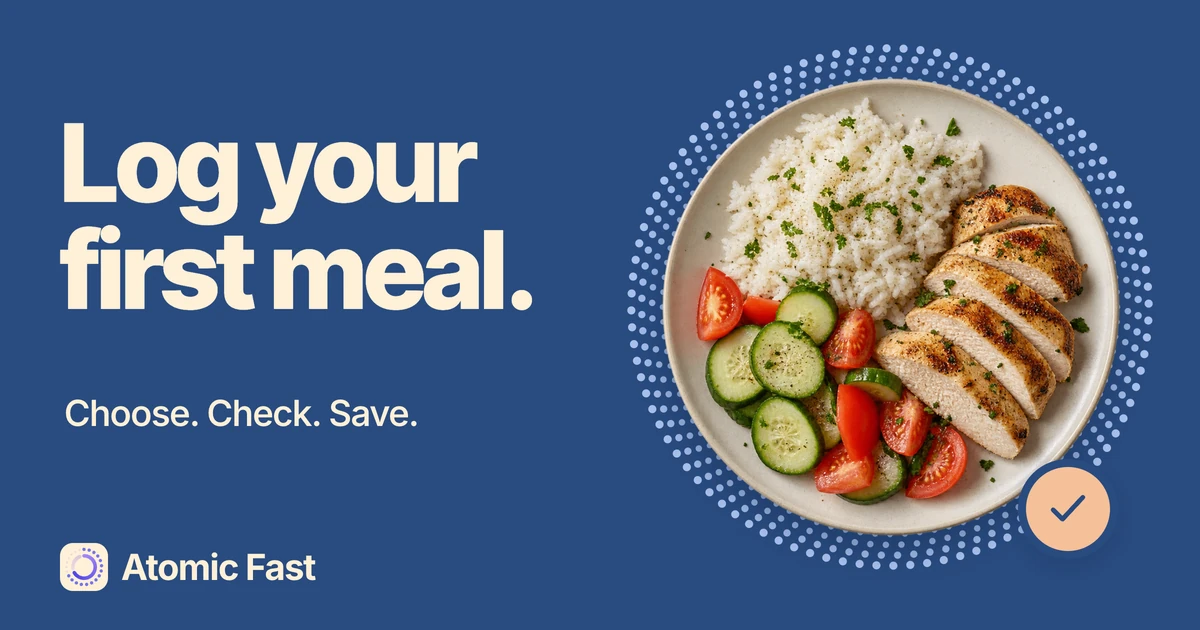
A meal you can describe: choose Describe Meal, type the foods and quantities you know, then tap Generate with AI. For example: “Grilled chicken, one cup of cooked rice, cucumber and tomato, with a teaspoon of olive oil.” This is an illustrative input, not a suggested portion. Include the oil only if you actually used it, and avoid guessing precise weights you don’t know.
Packaged food: use Scan Barcode to look up its product record. Scan Label is a separate AI method that reads a photographed nutrition label. The barcode identifies a database entry; the label provides printed nutrition information. Neither tells the app how much you ate without your review.
A food you want to select yourself: tap Search food database. Add the matching foods to your meal and review their servings. If you have reliable per-serving nutrition for something the search doesn’t cover, open My Foods and use Create Food to save a custom entry. Then add that food to your meal. Creating the reusable food alone isn’t the same as logging a meal.
Choose your starting point
What do you have to hand?
A plate or food photo
Scan Food · Upload Photo
AI identifies foods and estimates portions.
A meal you remember
Describe Meal
Type the foods and quantities you know.
A product barcode
Scan Barcode
Look up the product, then check your serving.
A nutrition label
Scan Label
AI reads the nutrition information in a photo.
A food to look up
Search food database
Choose a matching entry and add it to the meal.
Your own nutrition entry
My Foods → Create Food
Save known per-serving values, then add the food.
Check every entry
Food + portion + time.
The AI routes share the free weekly allowance. Choosing “Generate results using AI” inside search also uses that allowance.
Log and save your first meal
These steps cover photos, typed descriptions, label scans and food search. The barcode difference is explained just below.
-
Open Meals and check the day. Use today’s date for a meal eaten today. The logging flow can inherit the date you’re viewing, so check it before entering an older meal. Tap Log or the + control. On iPhone this is the Log tab; on Android it’s the floating Log button, which can collapse to a plus while scrolling. Both open Log Food & Water.
-
Choose your input. Scan Food, Describe Meal and Search food database are visible in the initial sheet. For Scan Label, Upload Photo or Scan Barcode, reveal More options. On iPhone, drag the sheet upward until the extra actions appear; on Android, tap More options. For the typed example above, select Describe Meal, enter the description and tap Generate with AI.
-
Review the items before saving. Check that the foods match the meal and adjust each serving as needed. Remove an item that wasn’t there or use Add More Items for something missing. For search-based entry, add foods and open the meal-items control to review the builder. A matching name is only the beginning: check the portion attached to it too.
-
Set Meal Time to when you ate. If lunch was at 1 PM and you’re entering it at 3 PM, record 1 PM. Check the selected day as well. The example is about accurate recordkeeping; it doesn’t prescribe when lunch should happen.
-
Finish the save action. Tap Log Meal on the photo, label or description confirmation screen. In the search/custom-food meal builder, tap Done. If a fasting warning appears, read the choices before continuing. Wait for the meal result, then close it and return to Meals.
-
Find the saved entry. On the day you selected, check the meal’s foods and timestamp. This is the useful end point: you can find the record you just made. If you’re unsure whether a save completed, look here before starting another scan or entering the same meal again.
Review your entry
Make the entry match your meal.
For photo, label, description and food-search entries, review these details before saving.
Food
Check what is there. Add missing items or remove a mismatch.
Portion
Set the amount you actually ate. Review the updated totals.
Meal Time
Use the time you ate and check the selected day.
Finish with the save action
Its label depends on your route.
Photo / label / description
Log Meal
Search / custom-food builder
Done
Find the saved entry in Meals on the selected day.
The barcode save step differs by platform
On iPhone, Add to Meal opens the barcode result in a confirmation screen. Review the serving and time there, then tap Log Meal.
On Android, Add to Meal saves a single-item meal using the product’s default serving and the logging date and time. It doesn’t open the same review screen or fasting warning. Open the saved meal and check its amount and timestamp; its menu has Edit Meal Items and Edit Meal Time for corrections. If a fast is active, manage that session separately. Don’t assume the barcode action ended it.
If you’re logging during an active fast
In the confirmation and search flows, when today’s selected meal time falls within an active fast, the app can show You’re currently fasting. Log Meal Anyway saves the food entry without ending that fast. Break Fast & Log ends the active fast at the current time and logs the meal. Cancel returns you to the entry without completing that action.
That current-time detail matters if you are catching up later: the meal time you entered is not automatically used as the fast’s end time by Break Fast & Log. Check the fasting record separately. The app records your choice; keeping a timer running doesn’t change what you ate. For the normal timer workflow, see how to start, finish and save a fast.
When a result needs another look
The food is right but the amount is wrong. Adjust the serving before saving and review the recalculated totals. For a package, compare the serving information with the amount you ate. For a shared dish, enter your portion. A whole container and one serving can be very different quantities.
The barcode isn’t found, or the entry doesn’t match the package. Try food search, or use Create Food with nutrition information you can check. A label scan is another option if you have AI scans available. Don’t select a vaguely similar branded product just to get past the screen.
The AI allowance is used up. Photo analysis, label scans and typed descriptions share the seven-scan weekly free allowance. Successful AI requests count even if you haven’t saved the resulting meal. The allowance resets on Monday at midnight in your local time; Atomic+ provides unlimited AI scans. You can continue with database search, barcode lookup or custom food entry. Search’s Generate results using AI option is still an AI request, not ordinary database search.
You can’t find the meal. Check the day displayed in Meals, then whether you completed Log Meal or Done. Reviewing an analysis, adding foods to the builder and saving a custom food are earlier steps. Verify the list before repeating the entry.
Know what an AI entry sends
When you scan or upload a food photo, scan a label or describe a meal, that image or text goes through our server to Google’s Gemini API for analysis. Core meal records are stored locally, but the AI request leaves your device. Our privacy policy describes this processing and the other services the app uses.
Choose the method you’re comfortable with, then check its output. Database entries and custom foods also depend on the information behind them; changing the input method doesn’t turn an estimate into a measured result.
Frequently asked questions
Can I log a meal without taking a photo? Yes. Describe it in text, select foods through search, scan a product barcode or add a custom food. Choose based on the information you have available.
Does creating a food in My Foods record that I ate it? No. It creates a reusable food entry. Add that food to a meal, check the amount and time, then finish with Done in the meal builder.
Why does one screen say Log Meal and another say Done? They belong to different entry flows. Log Meal finishes the scan/description confirmation; Done finishes a new meal in the search-based builder. Both lead to a saved meal when you complete the flow.
Can I enter lunch after I’ve already eaten it? Yes. Select the relevant day and set Meal Time to when you ate. If a fast is still running, review its record separately rather than assuming a backdated meal will correct it.
Does saving a meal start my next fast? No. You start the fasting timer yourself. The meal’s estimated digestion time is separate from a start command and isn’t a measurement of your digestion.
Sources and product notes
Product information checked: October 14, 2026.
Product verification: The logging entry points, English labels, confirmation and meal-builder save actions, fasting warning, local persistence and AI allowance were checked against the current iPhone and Android source code and meal-logging documentation. This was source review, not a mobile-device walkthrough or a clinical validation of nutrition estimates. The diagrams explain the workflow; they are not app screenshots. The cover uses illustrative generated food photography.
- Atomic Fast — Privacy Policy — Describes image/text processing by Google Gemini and the app’s other data-handling paths. The AI request flow was also checked in the app source; this policy is not evidence that nutrition estimates are exact.
Get Atomic Fast on the App Store or Google Play. Choose a logging method, check the entry and save your first meal.
This article is for general education and isn’t medical advice. If you’re pregnant, managing a health condition, taking medication, have a history of disordered eating, or are considering fasts longer than 24 hours, talk to a healthcare professional first.
Try Atomic Fast free
Track your fasts, log your meals, and see how they affect each other, on iPhone and Android.


 Scan to download